How to Manipulate Sound in the Browser with p5.js
· Tutorial
➡️ Try out the sketch described in this article via the online p5.js editor here
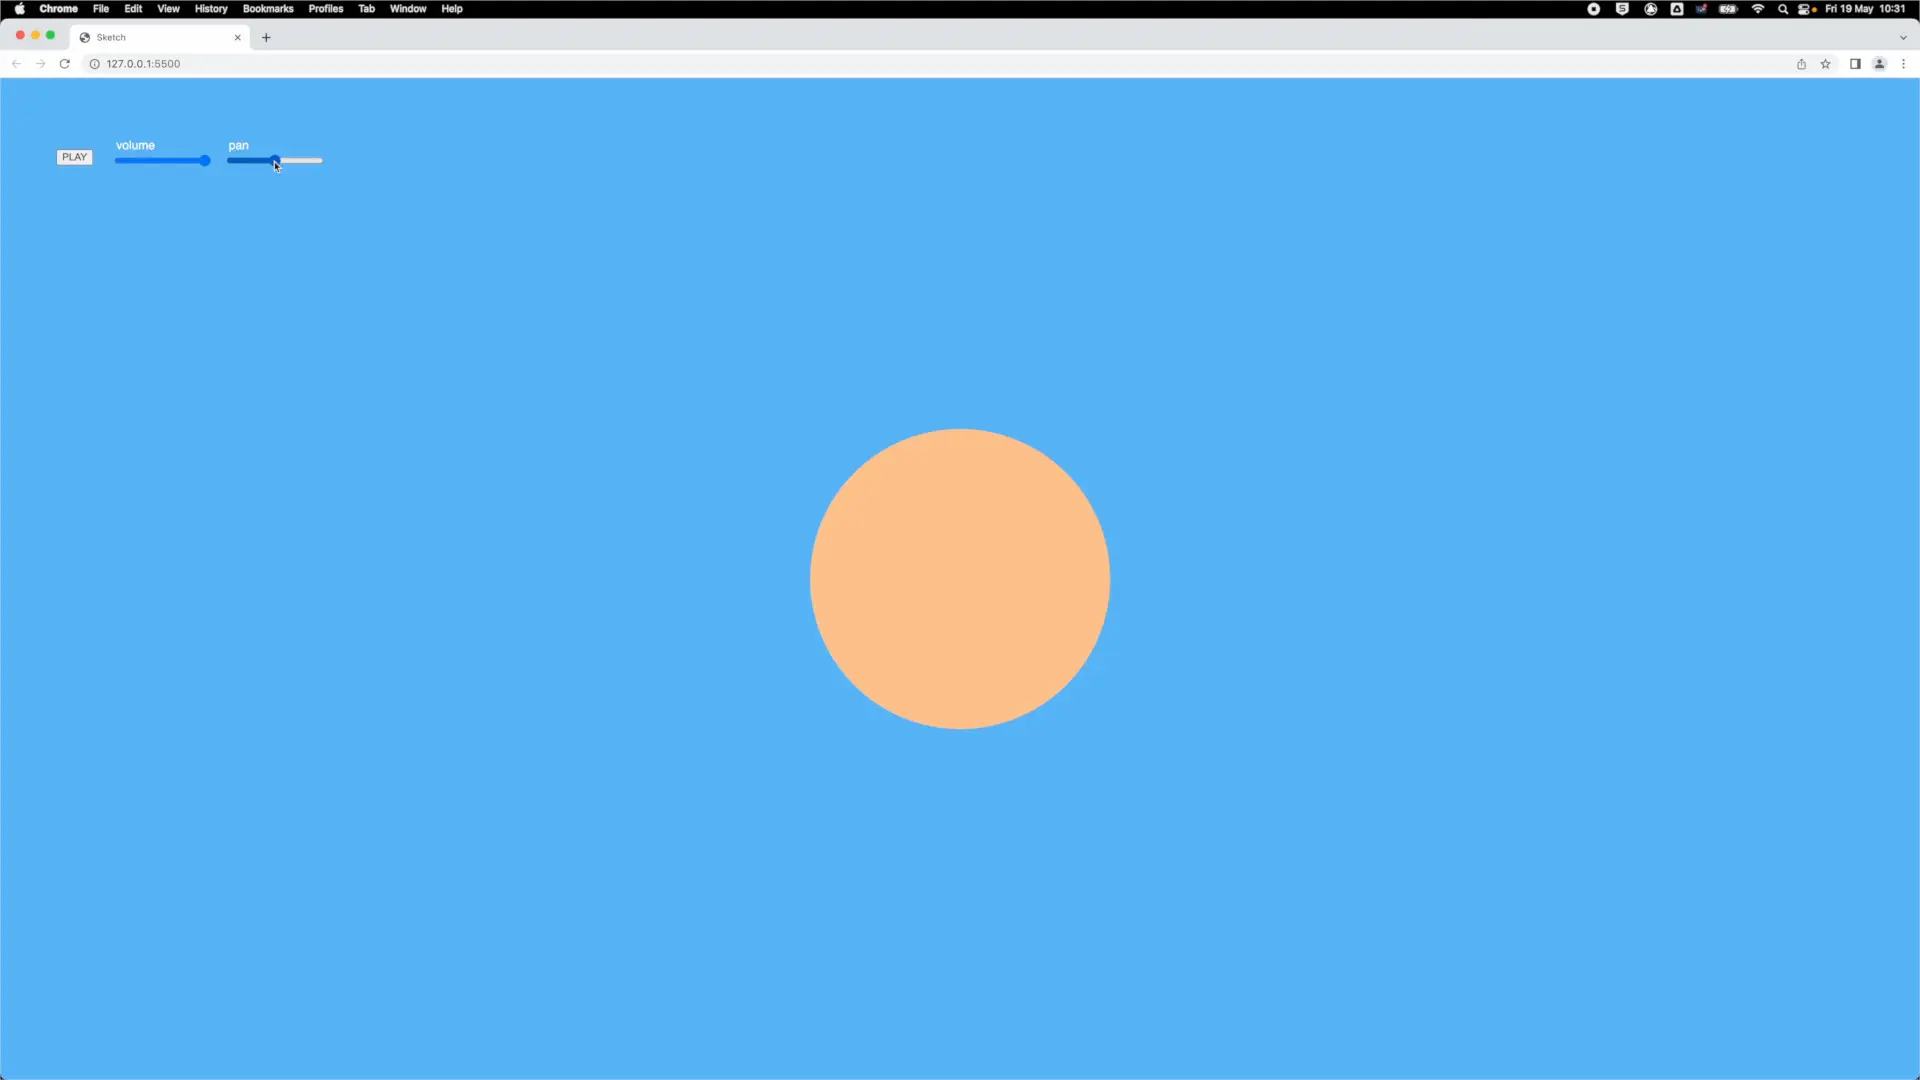
In this article on sound in the browser with p5.js we’re going to explore sound manipulation. We’ll learn how to use functions such as setVolume(), pan() and rate(), in combination with visual elements onscreen.
A simple way to manipulate a sound file is to change its volume. We’ll take this process a step further by writing a programme that lets us connect the volume of a sound to the size of a visual element in the browser.
We’ll also use audio panning across the left and right channels, as a way of controlling the movement of this visual element. We’ll learn how to slow down a sound as a way of creating an interesting soundscape.
Loading an mp3 file
First of all, we need an audio file. I’m going to use an mp3 file of some birdsong.
We can load the sound into memory by declaring a variable and assigning the sound to that variable. We can do this inside of a preload() function.
let birdsong;

function preload() {
 birdsong = loadSound('birdsong.mp3');
}
Setting up the canvas
I’m going to add a button that the user can click to play the sound. But in order to add anything to the screen, we need to define an area in the browser where the sketch will be displayed.
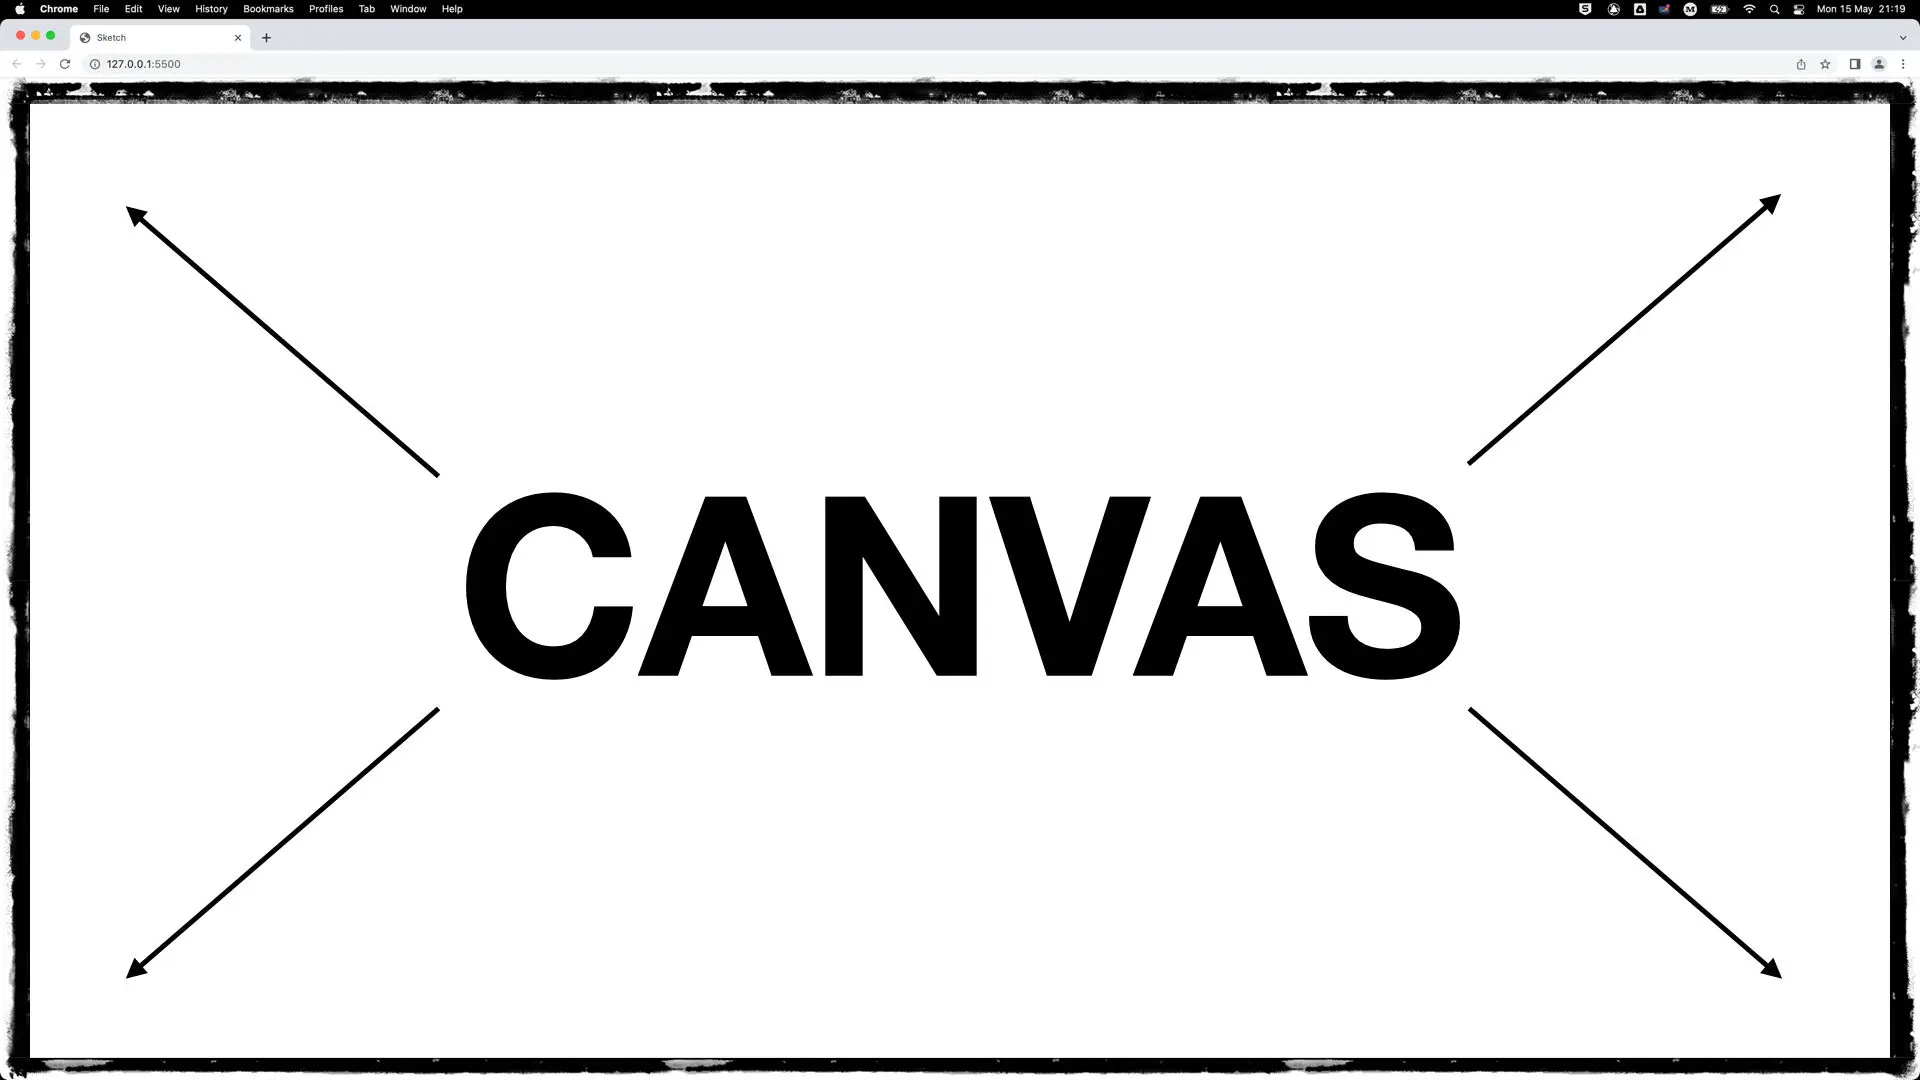
We do this by creating a canvas, using the function createCanvas(). I’ll make the canvas the size of the browser window using the variables windowWidth and windowHeight. These are system variables that are part of the p5.js library. The code for the canvas goes inside setup().
createCanvas(windowWidth, windowHeight);Let’s give the canvas a blue background, but that will go in draw().
background(86, 179, 245);Creating a playback button
OK. Now I’ve got my canvas, I can go ahead and create a playback button. In p5.js, we can do that by assigning a button to a variable just like we do with a sound file. First, the variable:
let playButton;Next, in setup(), I write the createButton() function to initialize the playButton variable as a button. I also write, in quotation marks, what I want to display on the button, inside the parentheses.
playButton = createButton('PLAY');Understanding the coordinate system
Now let’s position this button in the top left corner, with a margin of 25 pixels from the left and 35 pixels from the top.
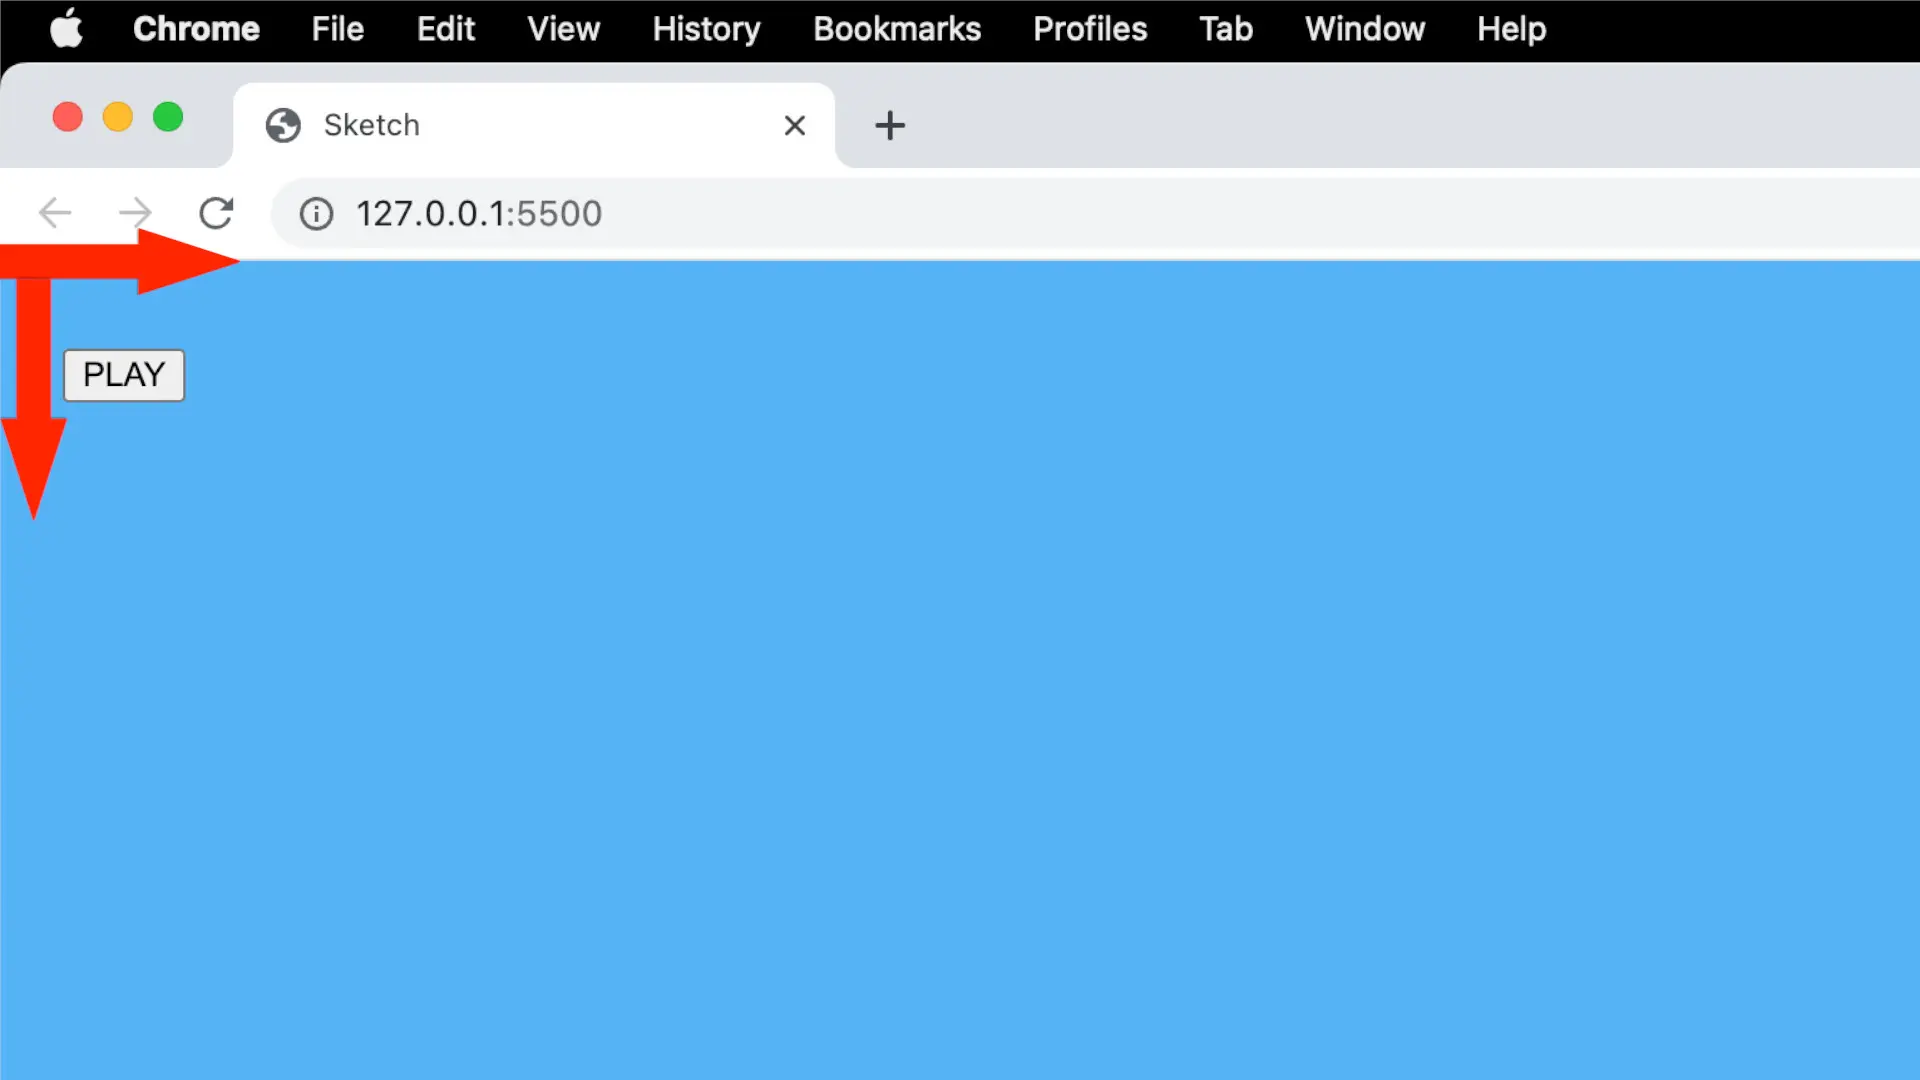
We can call the position() method on the button variable. In p5.js the default origin of the axis (0,0) is the top left corner. So I am shifting the button 25 pixels along the x axis, to the right, and 35 pixels along the y-axis, downwards.
playButton.position(25, 35);I need to write another line that tells the computer what to do when someone clicks the button. So I call the mousePressed() method on the button.
playButton.mousePressed();Writing a function to play the sound
To recap, we’ve initialized a variable called playButton as a button using the createButton() function.
We’ve labelled the button with the word, ‘PLAY’, by putting this word in quotation marks inside the parentheses. We’ve done all this in setup().
We’ve called the mousePressed() method on the button variable.
But if we click the button, nothing happens. This is because we still need to write the code that tells the browser what to do when the button is clicked.
I’ve put the word ‘start’ inside the parentheses of the mousePressed() method.
playButton.mousePressed(start);I’m now going to write a function called start() with code that runs when the mouse is clicked.
This bespoke function is designed to start the playback of the sound. So it calls the play() method on the birdsong variable. It performs an action on that variable by playing the sound file currently assigned to that variable.
Now, if I run the programme again, we should hear a sound.
function start() {
 birdsong.play();
}
Setting the playback mode
One other thing. I want to make sure that if I accidentally click the play button again while the sound is playing, the sound restarts, rather than starting another, additional and layered playback of the file.
I can control what happens when someone clicks ‘play’ when the sound is already playing by calling the playMode() method on the birdsong variable. This method is part of the p5.sound library.
If you look up playMode() in the p5 reference, you’ll see you can set up playback to restart by passing the argument 'restart'. We can do this in setup().
birdsong.playMode('restart');Let’s recap. When we click the mouse on the play button, the browser calls the mousePressed() method and runs the line of code contained within the start() function.
Creating a volume slider
OK, let’s follow the same logic and add a volume slider. First, the variable:
let volSlider;Now create the slider and position it on the screen
volSlider = createSlider(0, 1, 0.5, 0);
volSlider.position(100, 40);
Creating a volume slider is basically the same as creating a button, except that we use the createSlider() function.
Previously, we put text in-between the parentheses of the createButton() function. For the createSlider() function we write numbers, as arguments. So we should take a look at what these numbers mean.
We see that it takes four parameters, two of which are optional: min (minimum value of the slider); max (maximum value of the slider); default value of the slider, which is optional; and step size for each tick of the slider, which is also optional.
In our sketch, we’ve set the volume slider to have a minimum value of 0 and a maximum value of 1, with a default value of 0.5 and a step size of continuous.
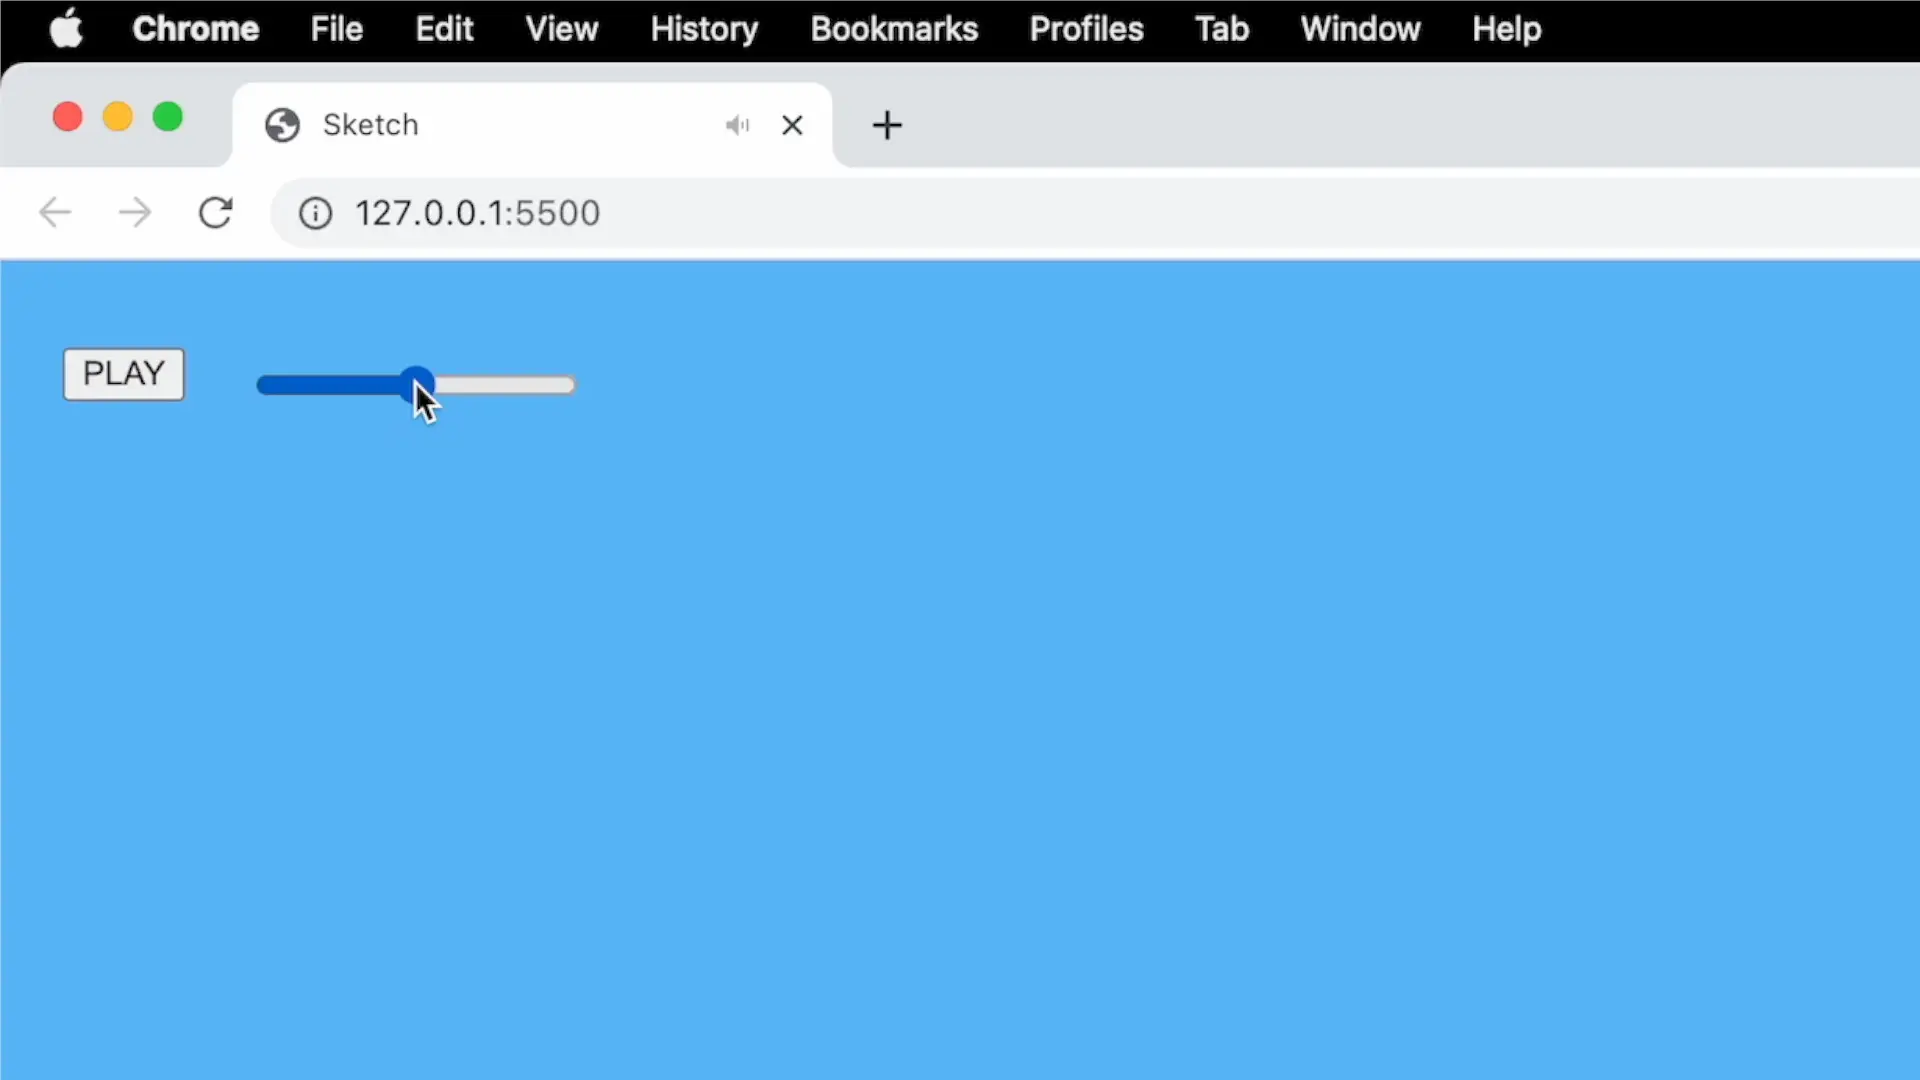
But in order that the volume slider actually affects the volume of the sound file while it’s playing back, we need to assign the current value of the slider at any particular moment in time to the volume of the sound at that particular moment in time.
Let’s write this out in pseudocode.
/*
1. Constantly check the current value
of the slider and report its value on
a scale of 0 to 1.

1. Immediately assign this current
value to the volume of the sound
that is playing back
*/
We can get the current value of the slider by calling the .value() method on the volSlider variable.
And we can assign that value to the volume of the sound by passing it as an argument to the setVolume() method, which we call on the birdsong variable.
birdsong.setVolume(volSlider.value());Mapping volume slider to circle
Now let’s connect the value of the volume slider to the size of a circle onscreen.
First, I’m going to draw a circle using the ellipse() function in p5. I will need a variable for its size.
let circleSize;Now I can easily assign the volume of the sound to this variable using the .value() method.
let circleSize = volSlider.value();I want to draw the circle in the center of the screen, so I can use the windowWidth and windowHeight variables and divide each in half.
ellipse(windowWidth/2, windowHeight/2, circleSize, circleSize);The parameters which I pass to ellipse() are x-coordinate, y-coordinate, width and height.
In order to see this circle, I need to give it a colour. I’ll make it orange.
fill(255,193,138);But at the moment, it’s a tiny circle because the width and height are the same as the current value of the volume slider, which is somewhere between 0 and 1. To make the circle larger than one pixel, I need to multiply this volume value by a constant. Let’s say 400.
let circleSize = volSlider.value() * 400;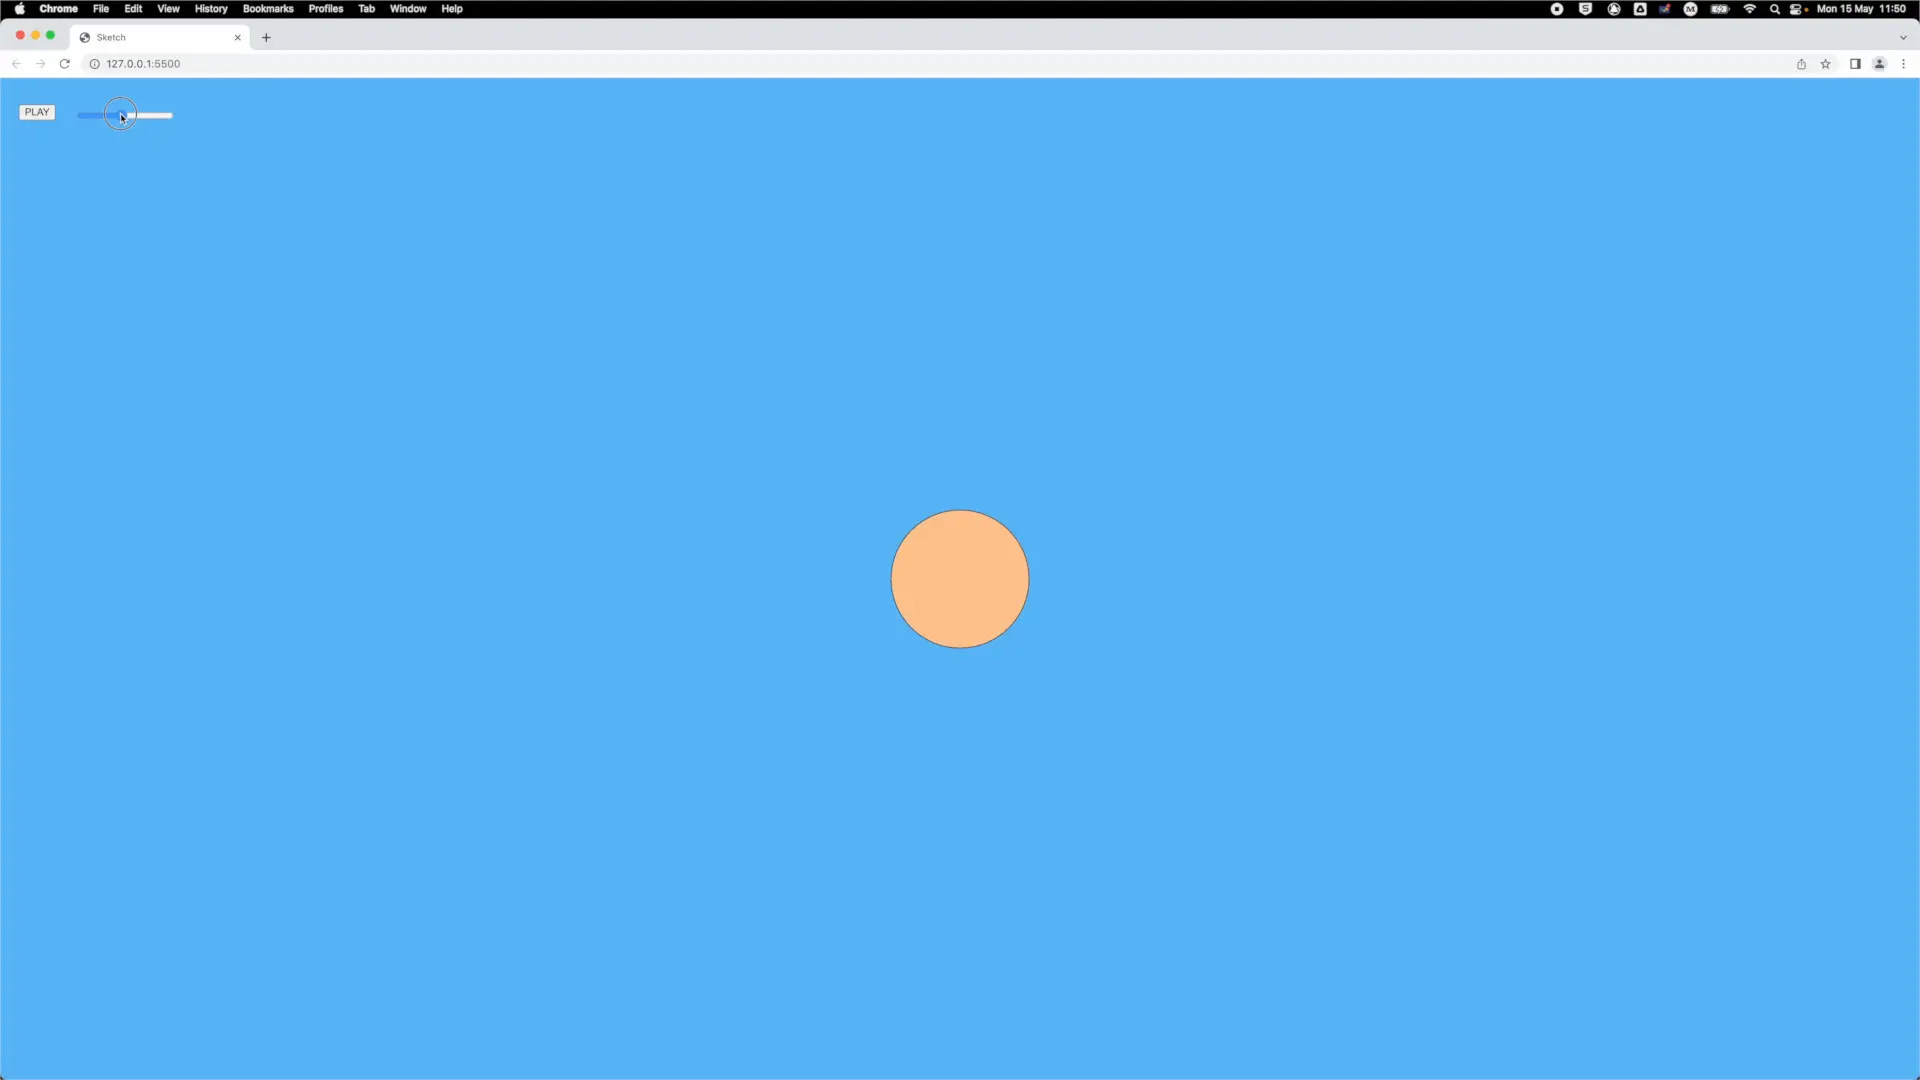
Mapping volume slider to opacity
OK, now we can see it. When we raise the volume, the circle gets bigger, which simulates the effect of an object getting nearer to us. And it gets smaller when we lower the volume, as if it were moving away.
In p5.js, the fill() function can take a fourth value, which is opacity, in addition to the three red, green and blue values. But instead of putting in a number, let’s set the opacity as a variable and update that variable with the volume value.
let opacity = volSlider.value() * 255;Here, I’ve multiplied volSlider.value() by 255 which maps the volume value (originally between 0 and 1) to the opacity scale (which is between 0 and 255).
Now all I need to do is add this opacity functionality to the fill() function.
fill(255, 193, 138, opacity);Also, to help with the disappearance of the circle into the background, let’s turn off the default outline feature, using noStroke().
The change in size of the circle, combined with the change in opacity, both of which are controlled by the change in volume, now gives a convincing effect of an object moving towards and away from us.
What we’ve done here is manipulated sound and image at the same time. We’ve used the facility of digital code to make an audiovisual composition where what we see and what we hear are controlled by the same data.
Creating a pan slider
We can go further by panning sound across the left and right audio channels and mapping the panning value to the horizontal position of the circle on the screen.
First, the variable.
let panSlider;Second, in setup(), we initialize the slider variable with the createSlider() function and position it on the screen by calling the .position() method on the variable.
panSlider = createSlider(-1, 1, 0, 0);
panSlider.position(250, 40); 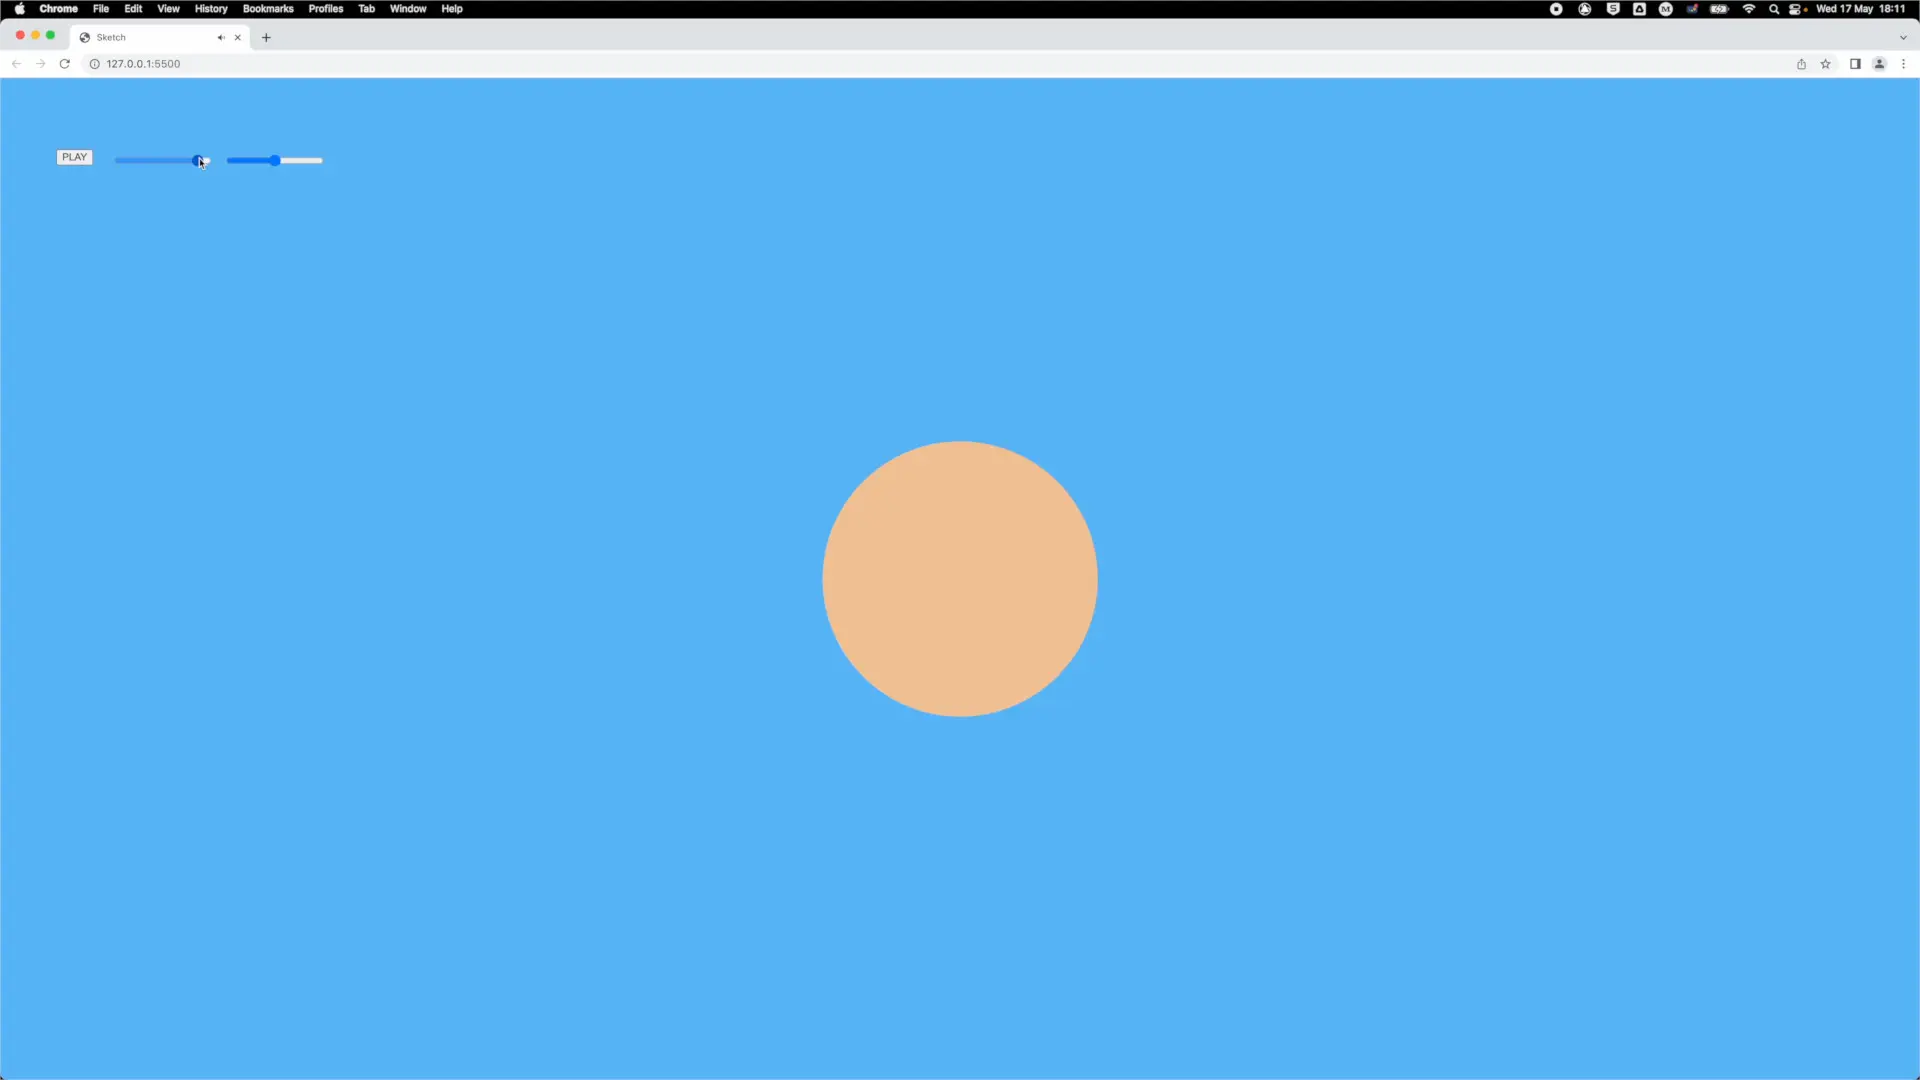
The arguments for the pan slider, here, are a range from -1 (fully left) to 1 (fully right); initial value of 0 or in the middle; and a continuous step movement.
Earlier, we called the value method on the volume variable to get a value we could use to set the volume of the sound and also to set the opacity and size of the circle.
In the same way we’ll call the value method for the panSlider variable to get the current slider value and pass this to the pan method on the birdsong variable.
Let’s try it in the browser.
Mapping pan slider to circle
Now let’s map the same pan value to control the x-coordinate of the circle onscreen. We do this in draw().
let circlePosition = map(panSlider.value(), -1, 1, 0, windowWidth);

ellipse(circlePosition, windowHeight/2, circleSize, circleSize);
These lines need a little explanation. This line declares the variable circlePosition and initializes it using a p5 function called map(). This is a very useful function that maps a value from one range to another.
This line is straightforward. I just replace the x coordinate or first parameter of the ellipse() function with the variable circlePosition.
I want to use the pan value to control the x coordinate of the circle while keeping the y coordinate constant. So I need to convert a value from a range of -1 to 1 to a range of 0 to the width of the window.
The p5 reference tells us that map() requires the value to be mapped, and the minimum/maximum values of both in the input and output ranges.
So I put panSlider.value() in as the value to be mapped, then put in the minimum and maximum values of the panning range (-1 to 1); and then the minimum and maximum values of the x-coordinate (0 and the width of the window).
But there’s a catch. When we run this, we see that the circle now goes off the screen, on either side.
Don’t fear. We can fix this by adding and subtracting half the width of the circle from the second range of values.
let circlePosition = map(panSlider.value(), -1, 1, 0 + circleSize/2, windowWidth - circleSize/2);To get the value for half the width of the circle, I just divide circleSize by 2.
Creating a playback rate slider
Now, let’s give the user the option of slowing down the birdsong using the rate() method.
If we look this up in the reference and scroll down, we can see the parameters that go between the parentheses. 1.0 is normal, .5 is half-speed, 2.0 is twice as fast. Values less than zero play backwards.
Let’s create a slider for playback speed.
let rateSlider;
rateSlider = createSlider(0, 1, 1, 0);
rateSlider.position(100, 40); 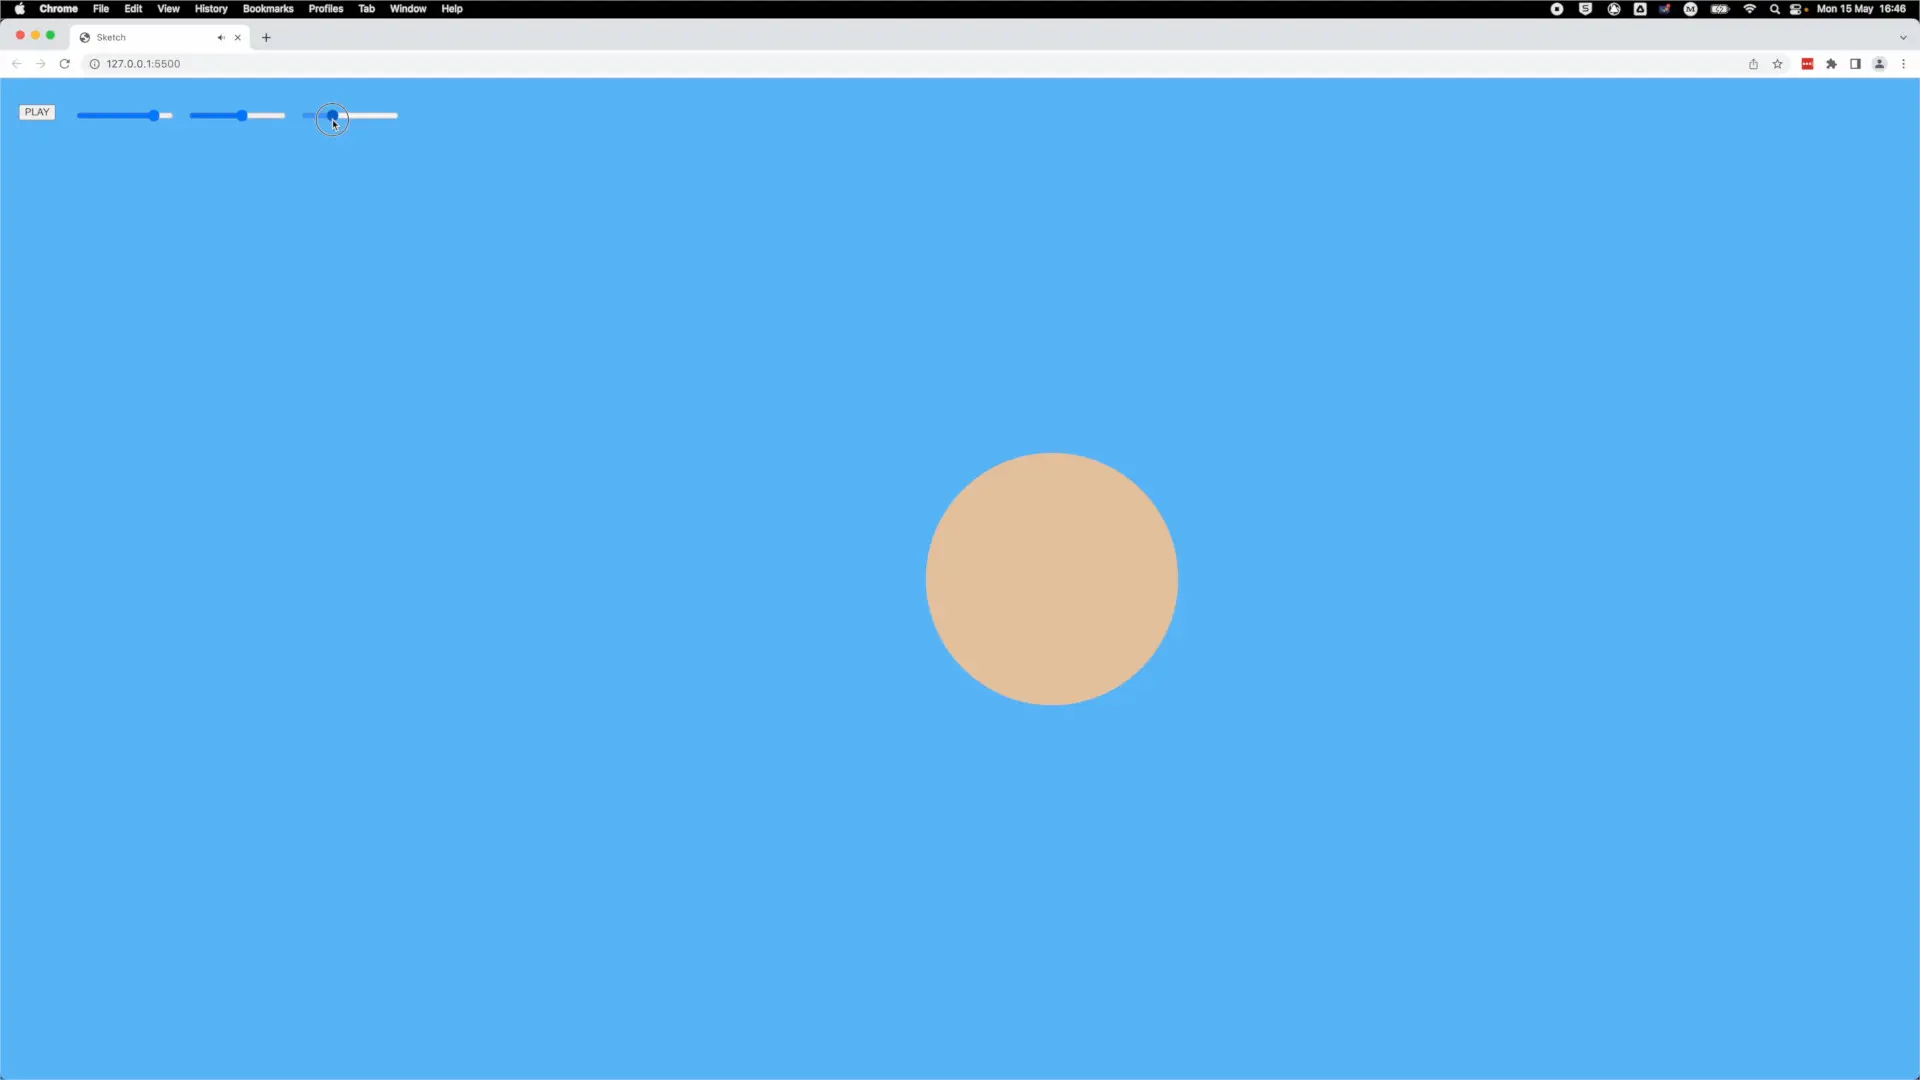
And now, let’s pass the value of the playback slide to the rate() method for the birdsong variable.
Let’s try it in the browser.
Adding text labels
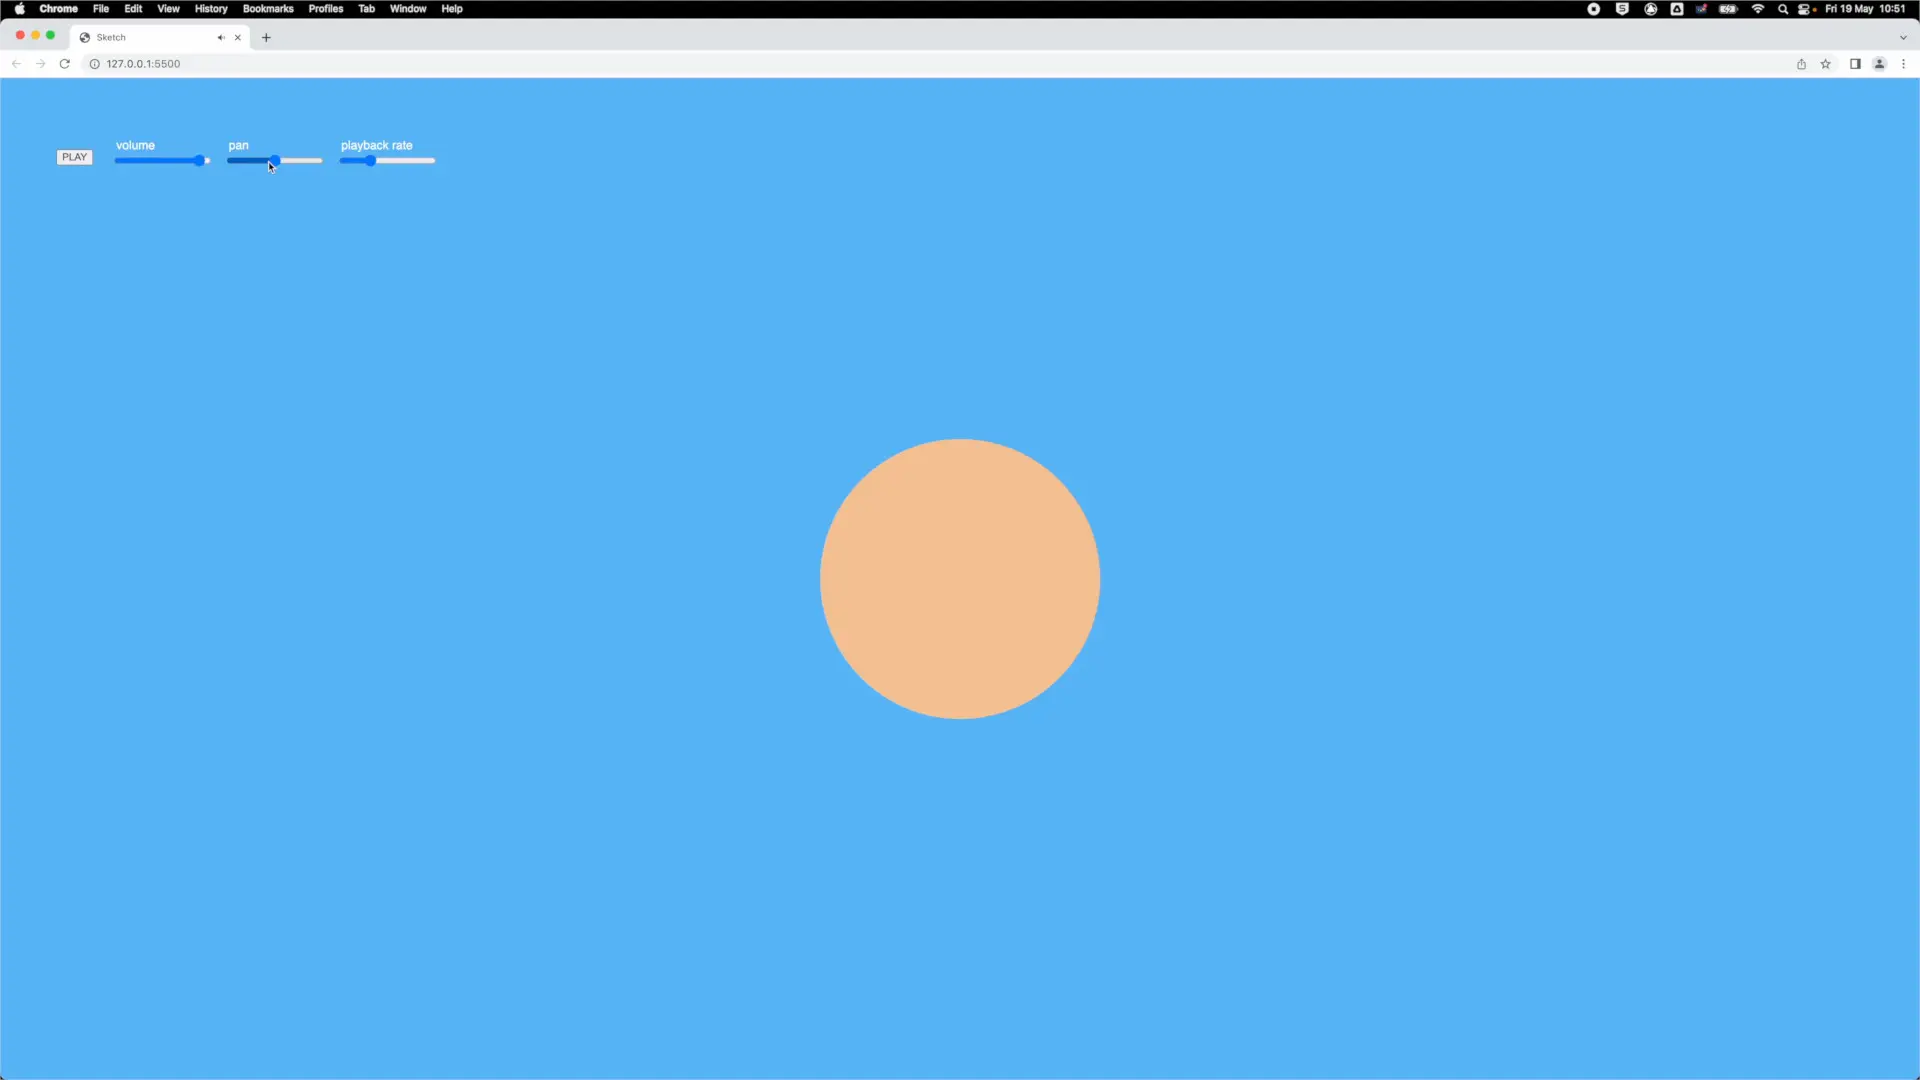
The only thing left to do now is to make the control interface a little more user-friendly by adding text labels. We can do this with the text() function in p5.js. The values are trial and error, according to layout preference.
text('volume', 105, 35);
text('pan', 255, 35);
text('playback rate', 405, 35);
And that’s it. We now have a browser-based playground for the manipulation of sound. Try it out via the online p5.js editor here! (Note: first click the grey play button on the left and then click anywhere in the red section of the browser).
The complete sketch
let birdsong;
let playButton;
let volSlider;
let panSlider;
let rateSlider;

// preload the sound file into memory
function preload() {
birdsong = loadSound('birdsong.mp3');
}

function start() {
birdsong.play();
}

function setup() {
// set canvas to the width of the browser window
createCanvas(windowWidth, windowHeight);

// draw buttons and sliders
playButton = createButton("PLAY");
volSlider = createSlider(0, 1, 0, 0);
panSlider = createSlider(-1, 1, 0, 0);
rateSlider = createSlider(0, 1, 1, 0);

// position buttons and sliders
playButton.position(25, 35);
volSlider.position(100, 40);
panSlider.position(250, 40);
rateSlider.position(400, 40);

// call start() on mouse press
playButton.mousePressed(start);

// set playback mode to 'restart'
birdsong.playMode('restart');
}

function draw() {

// draw blue background
background(86, 179, 245);

// map volume value to opacity
let opacity = volSlider.value() * 255;

// draw circle (opacity controlled by volume)
fill(255, 193, 138, opacity);
let circleSize = volSlider.value() * 400;

// turn off circle outline
noStroke();

//map circle position according to pan
let circlePosition = map(panSlider.value(), -1, 1, 0 + circleSize / 2, windowWidth - circleSize / 2);

// draw circle
ellipse(circlePosition, windowHeight / 2, circleSize, circleSize);

// set playback pan & rate
birdsong.setVolume(volSlider.value());
birdsong.pan(panSlider.value());
birdsong.rate(rateSlider.value());

// label buttons
textSize(16);
fill(255);
text('volume', 105, 35);
text('panning', 255, 35);
text('rate', 405, 35);
}
👉 Click here to read the next article in this series and learn how to build a synth in the browser window.
Frequently Asked Questions
-
How do I preload a sound file in p5.js?
To preload a sound file, use the preload() function and call the loadSound() method with the file path. Assign the loaded sound to a variable for later use.
-
What does the playMode('restart') method do in p5.js?
The playMode('restart') method ensures that when a sound is already playing and you press play again, it restarts the sound instead of layering it over itself.
-
How can I control the volume of a sound in p5.js?
Use the setVolume() method on the sound variable. You can map this to a slider using the value() method to adjust volume dynamically.
-
How does the map() function work in p5.js?
The map() function converts a value from one range to another. For example, mapping a slider’s range (-1 to 1) to a screen's width (0 to windowWidth) allows you to control position based on slider input.
-
Can I use this setup for stereo panning?
Yes, the pan() method in p5.js allows you to pan audio left (-1) to right (1). By connecting a slider to the pan() method, you can implement stereo panning.
-
What does the rate() method do in p5.js?
The rate() method controls the playback speed of a sound. A value of 1 plays at normal speed, values below 1 slow it down, and negative values reverse playback.
-
How do I synchronize visuals with sound manipulation in p5.js?
You can use the same data (e.g., slider values) to control both sound and visuals. For example, map volume to the size and opacity of a shape for synchronized audiovisual effects.